How we cut document type creation from 15 minutes to 3 using AI
If you've ever created document types manually in the Umbraco CMS, you know it’s not the fastest process. What if you could do the same thing, better and faster with just a natural language prompt?
That’s what the Model Context Protocol (MCP) enables. An open standard that links AI assistants to real development tools like Umbraco. This gives them secure access to APIs. With this access, they can automatically create document types.
In this guide, we’ll show you how integrating MCP with your Umbraco development process can cut document type creation time from 15 minutes to only 3. You’ll learn how to set up the MCP server, work with it through tools like Visual Studio Code or Cursor, and see a real-world example of building a document type using just a prompt.
What is Model Context Protocol (MCP)?
The Model Context Protocol (MCP) is an open-source standard that lets AI assistants connect securely to external systems like Umbraco through APIs. You can think of it as a bridge between your AI assistant and your Umbraco CMS, giving it the power to perform tasks like creating document types, updating content, or managing settings that normally require clicking through the backoffice.
Instead of building things manually, MCP allows your AI tools to speak directly to Umbraco, speeding up development and reducing repetitive work.
Setting Up the Umbraco MCP Server
The Umbraco MCP server is a community-built toolset that connects the Model Context Protocol (MCP) with the Umbraco CMS. It lets your AI assistant interact with Umbraco’s Management API to automate content modeling tasks—like creating document types or configuring data types.
| Note: This server is a community-driven project by Matthew Wise and isn’t officially maintained by Umbraco HQ (yet). But it’s already powerful enough to support real workflows. |
The MCP server includes tooling for:
- Document type management
- Element type creation
- Content operations
- Data type configuration
- Block list management
The MCP server is structured around several core areas:
src/
├── umb-management-api/
│   ├── tools/
│   │   ├── document-type/
│   │   ├── element-type/
│   │   ├── document/
│   │   └── data-type/
│   └── schemas/
└── test-site/MCPTestSite/
Getting Started with the Umbraco MCP Environment
To try MCP in your own environment, start by cloning the Umbraco MCP server repo. This includes a working test site so you can experiment safely before applying it to your main Umbraco CMS.
git clone https://github.com/Matthew-Wise/umbraco-mcp.git
cd umbraco-mcp
Step 1: Run the Test Site
Go to the test site folder:
cd \test-site\MCPTestSite
Create an appsettings.Local.json file by copying :
appsettings.Development.jsonThen run the site using:
dotnet runYou’ll see the standard Umbraco CMS installation screen in your browser.
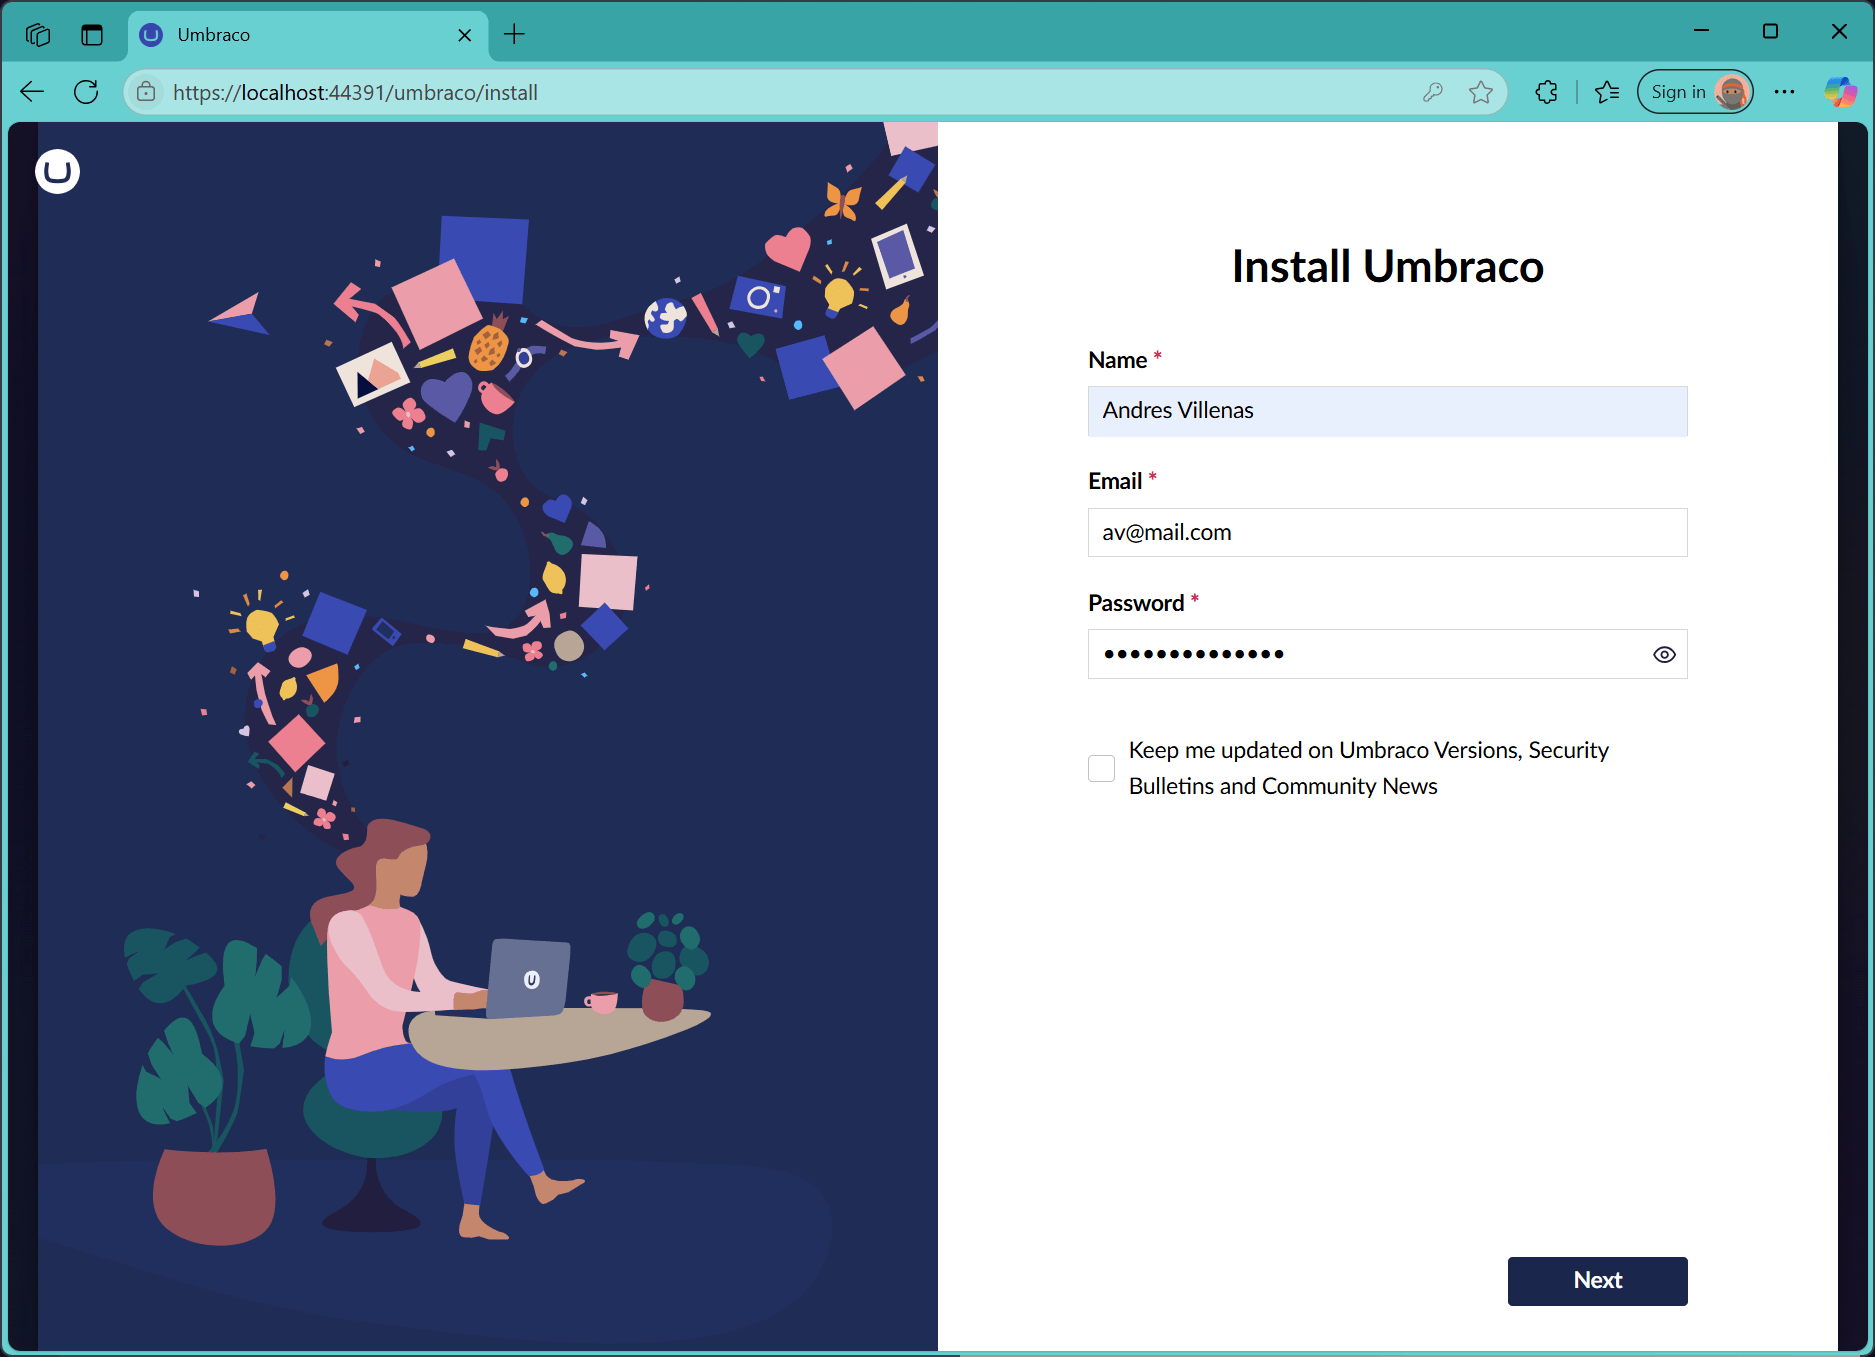
Step 2: Complete the Umbraco Installation Wizard
Go through the Umbraco installation wizard and set up your admin account and database. After that, you’ll have access to the backoffice.
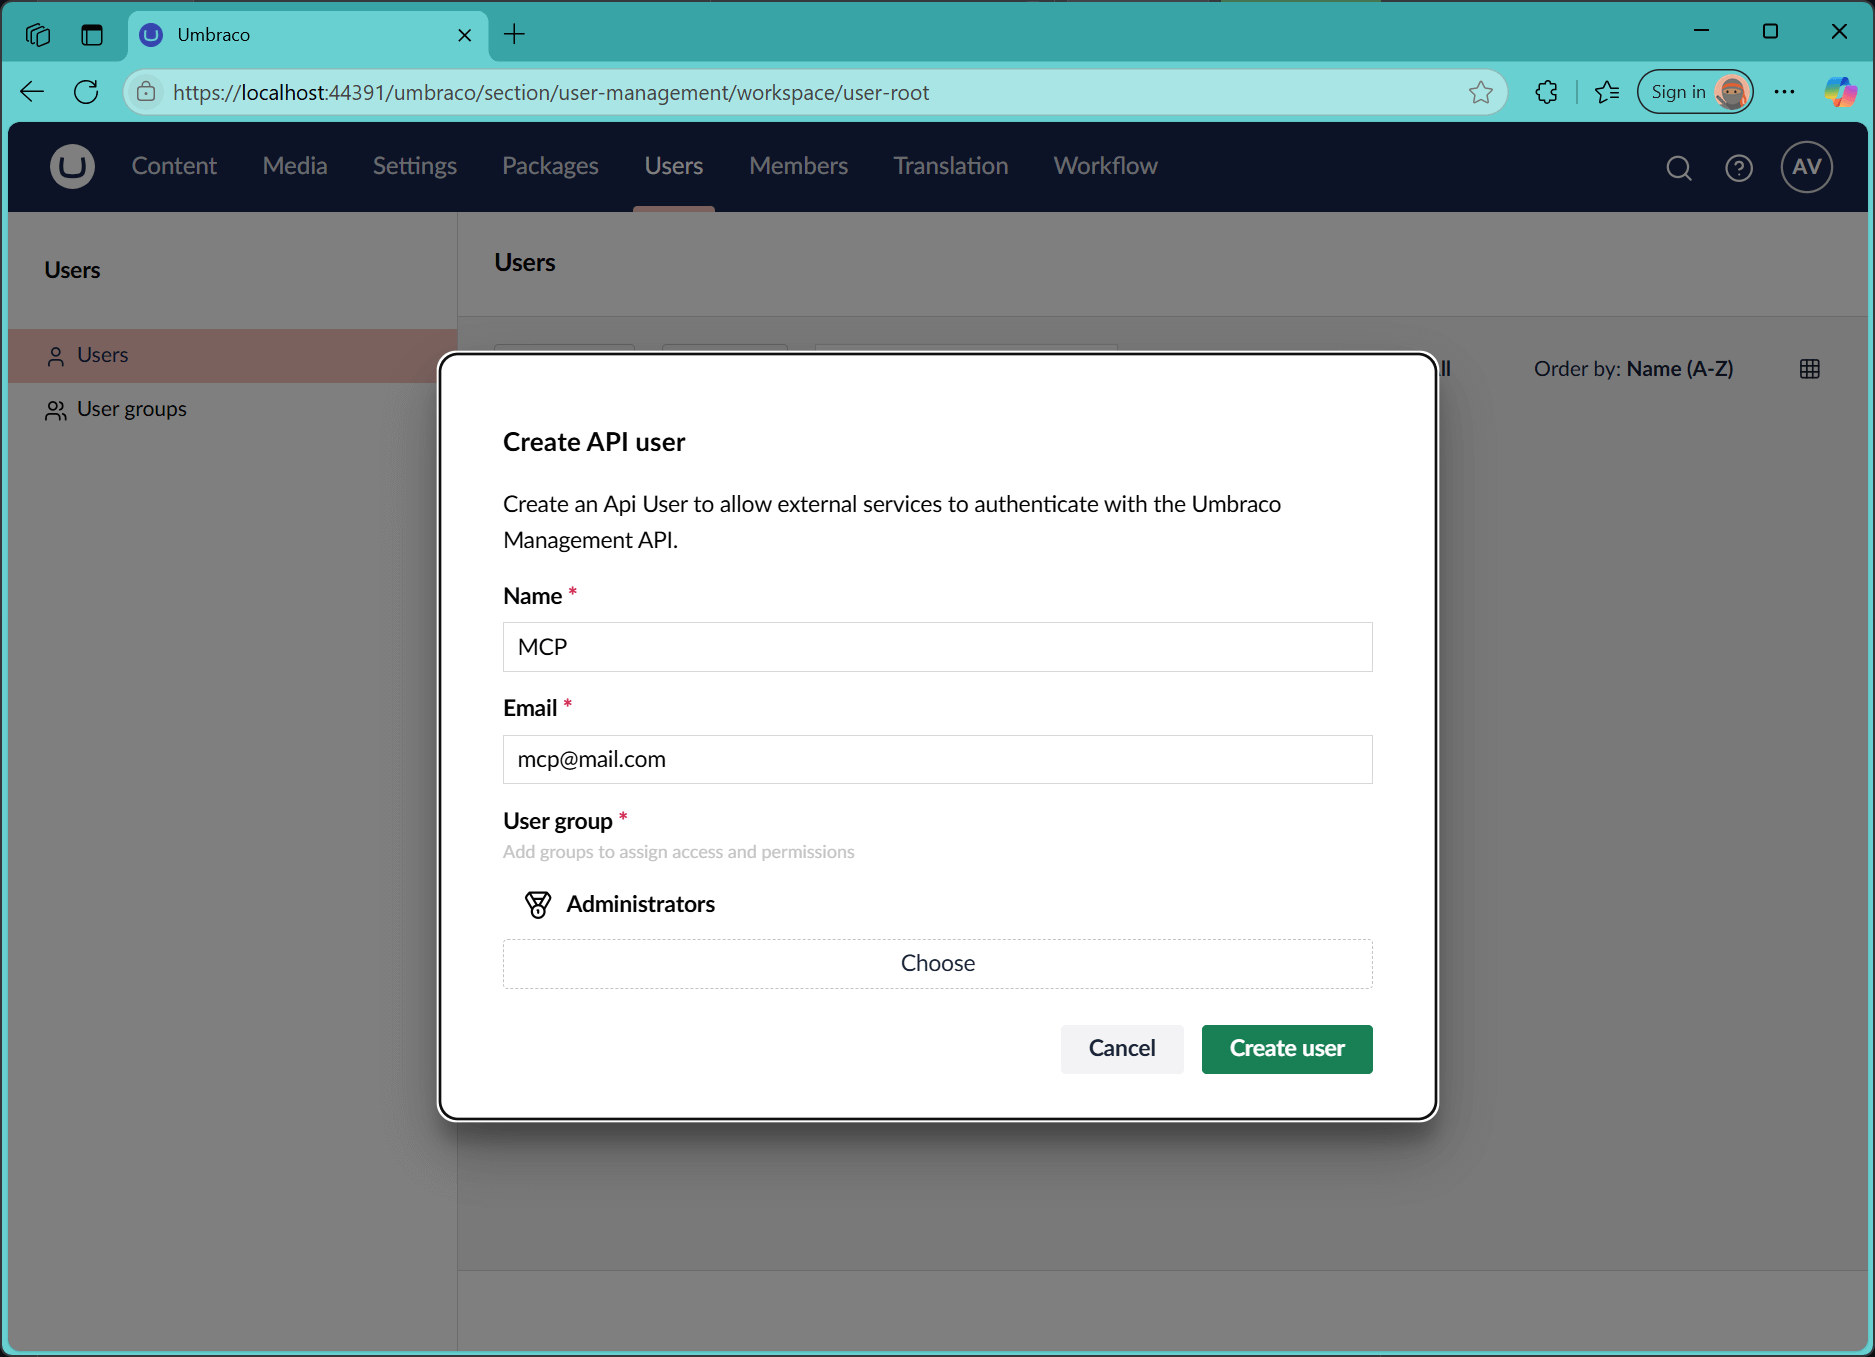
Step 3: Create an API User for MCP
To let MCP connect to your Umbraco instance, you need to create a dedicated user.
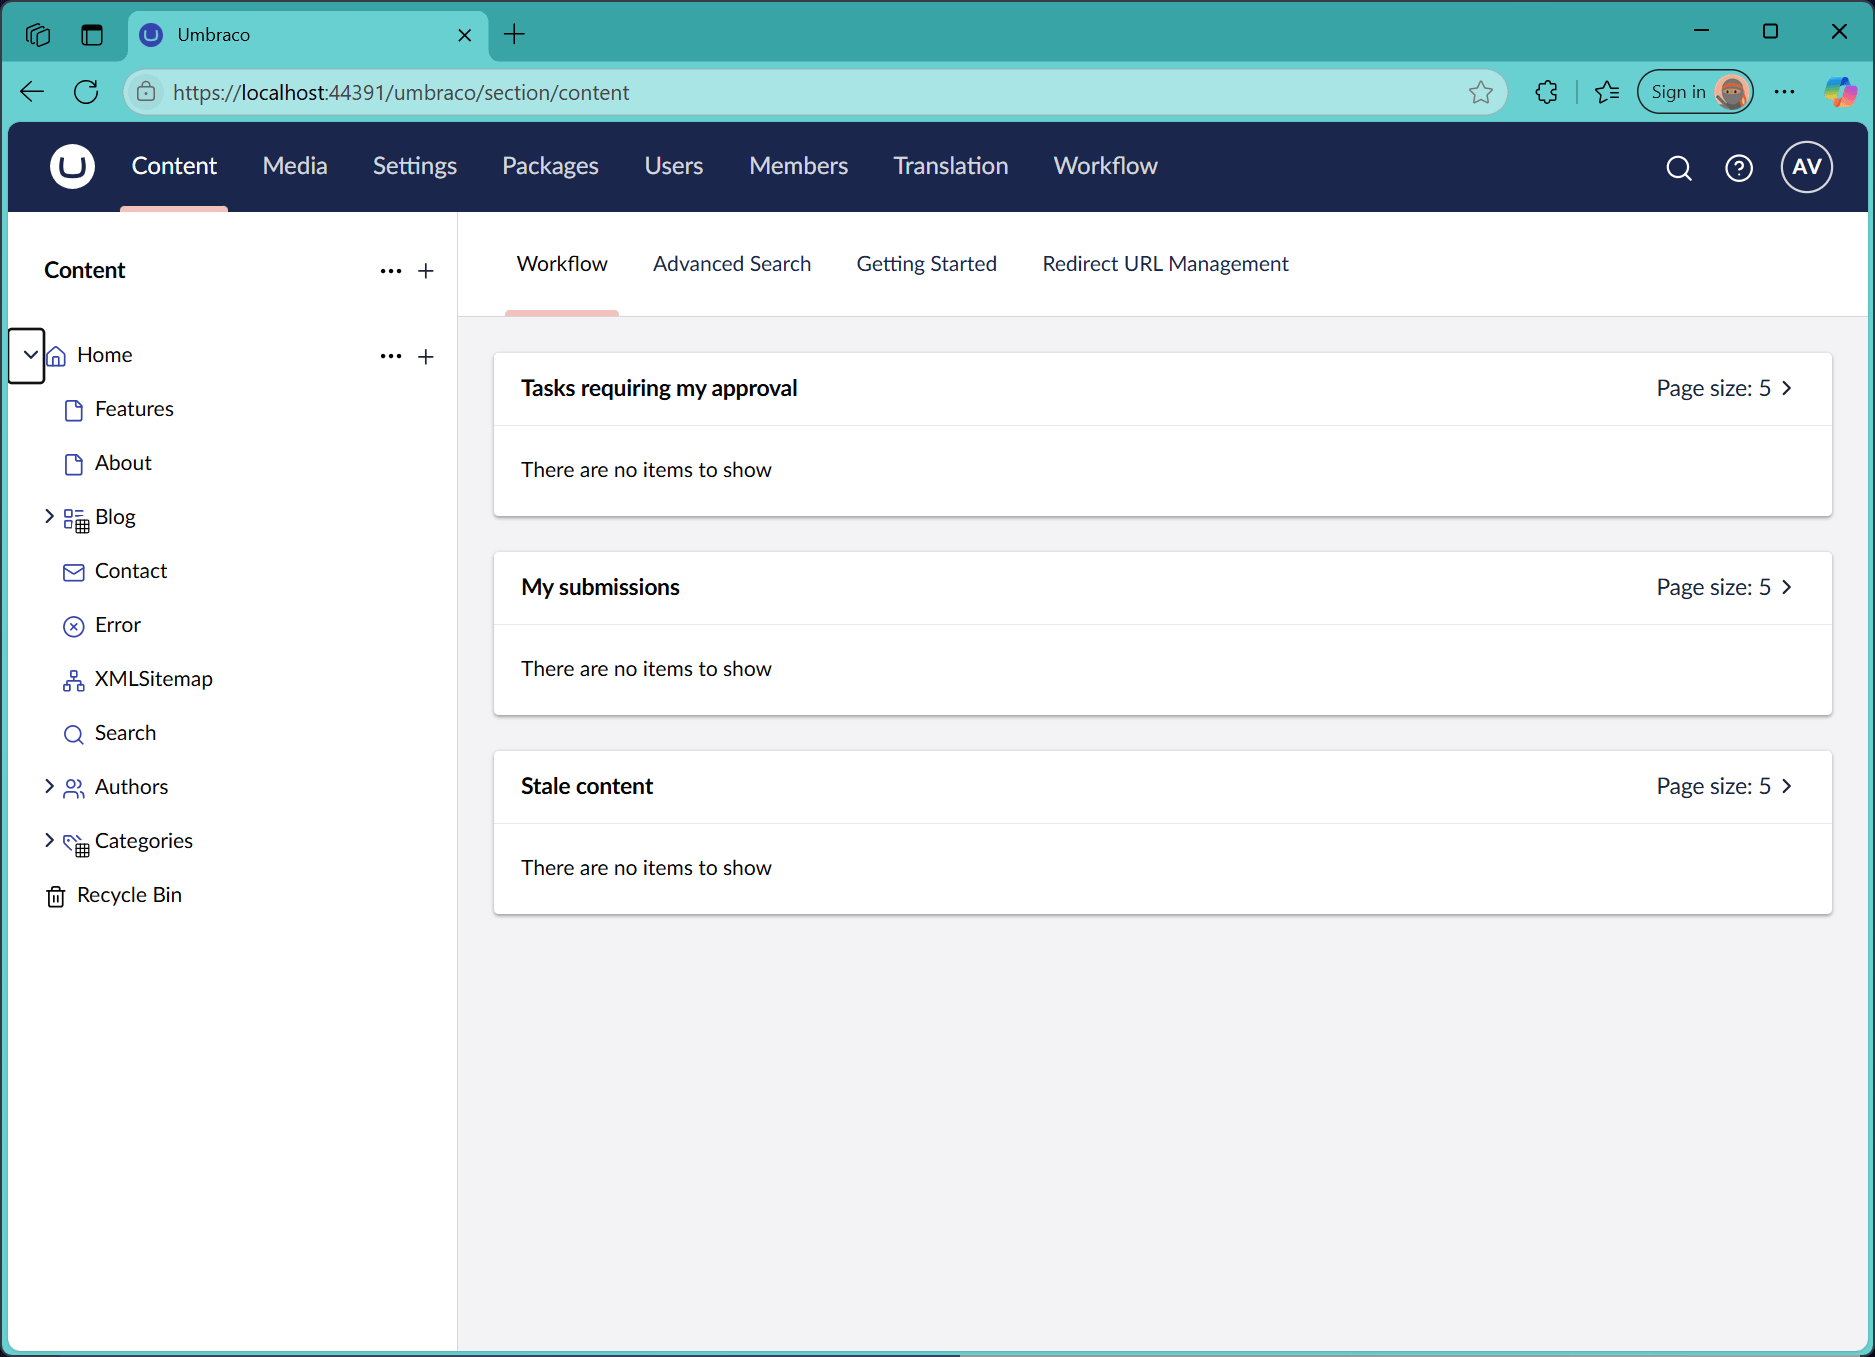
- Go to the Users section in the backoffice
- Add a new user in the Administrators group
- Enable "Allow access to all documents"
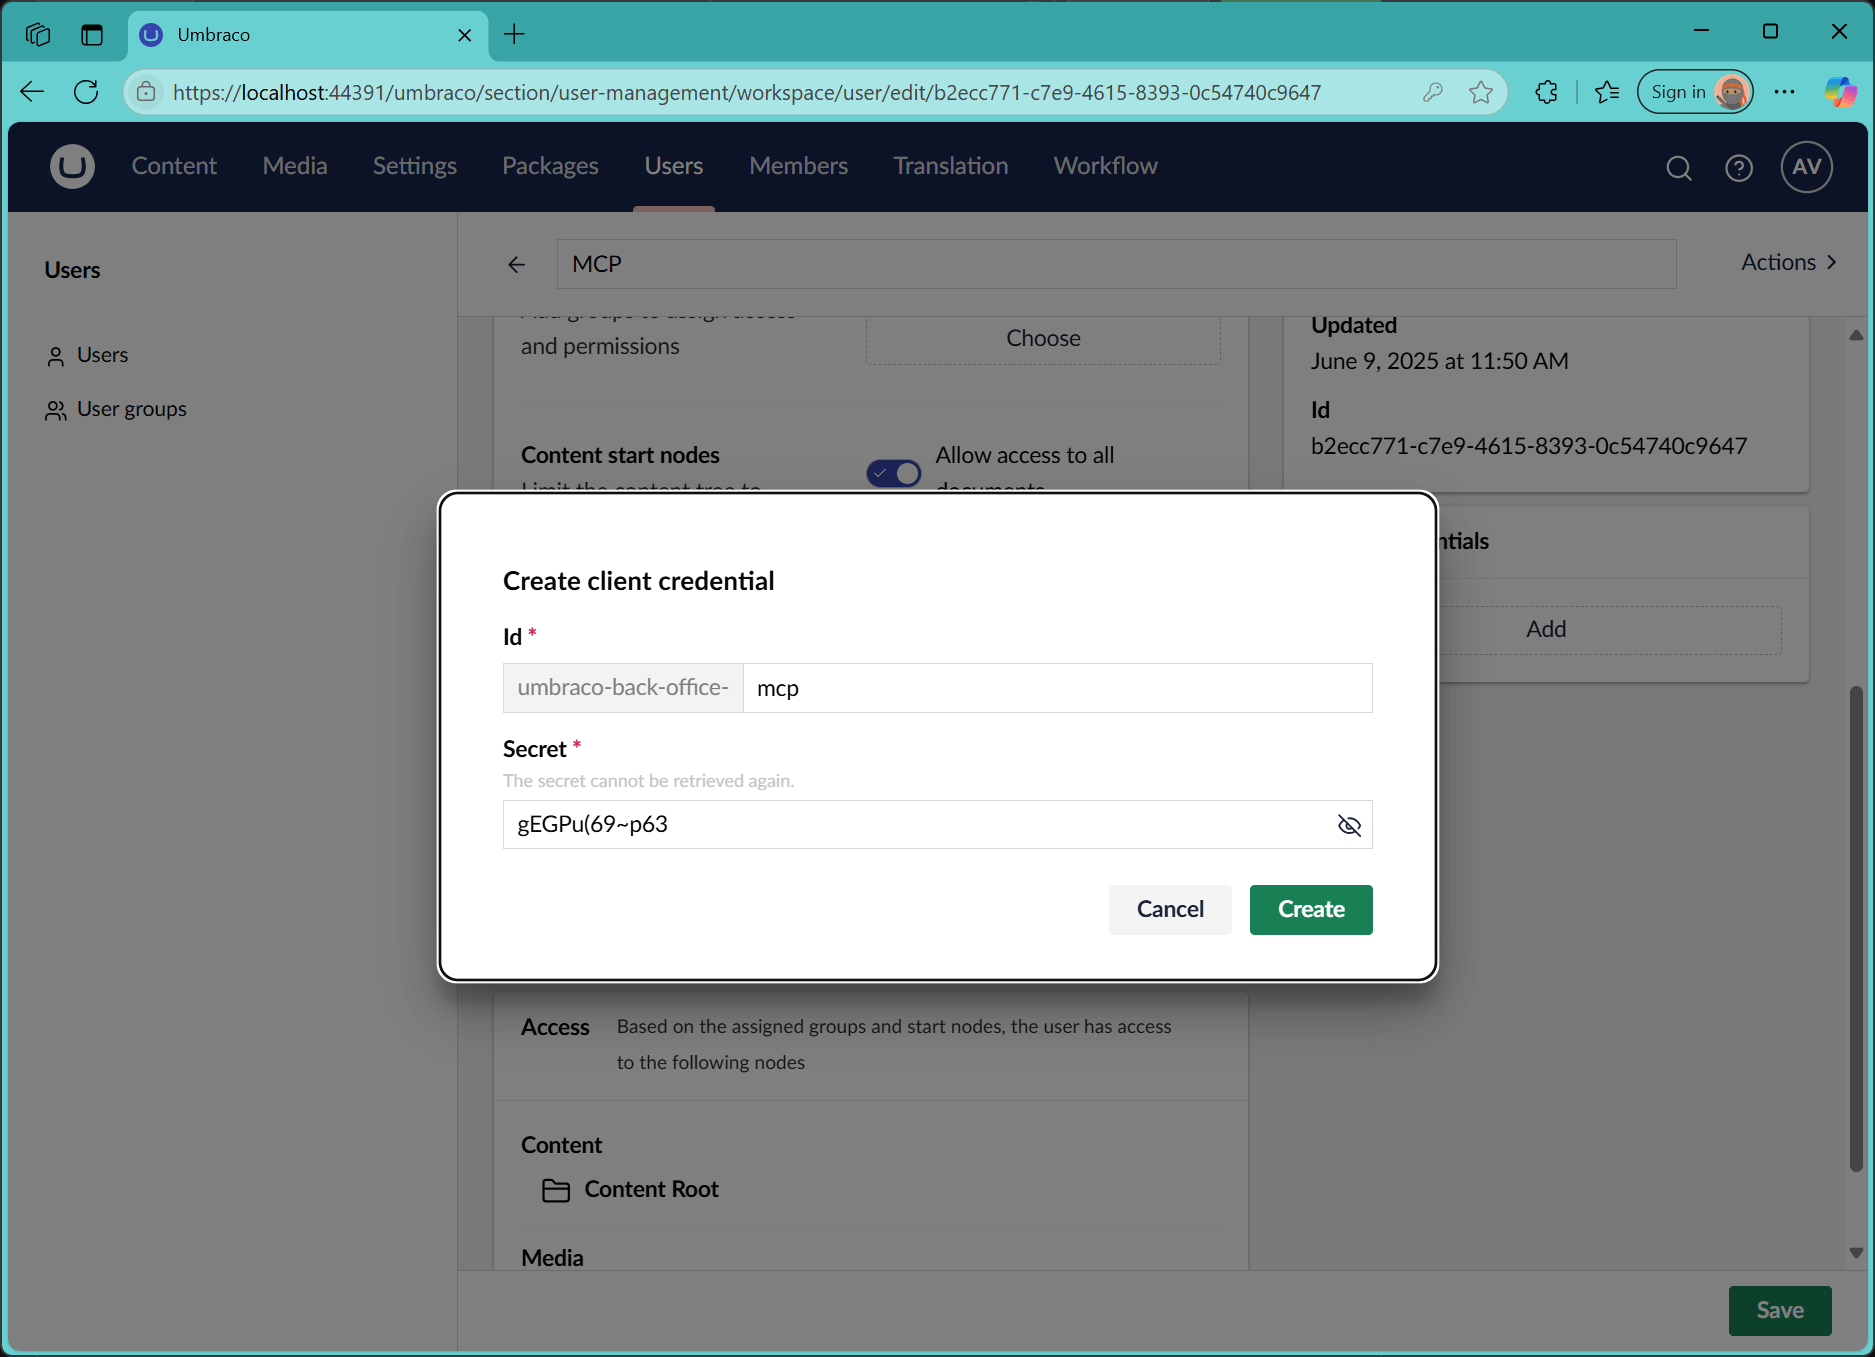
Step 4: Setting Up Client Credentials
MCP uses OAuth to connect securely.
- Go to Advanced settings
- Create a new client with:
- ID: umbraco-back-office-mcp
- Set a client secret of your choice - you'll need this for the MCP configuration
Step 5: Adding MCP Server to VS Code
If you’re using VS Code with GitHub Copilot or Cursor:
1. Open the command palette2. Run MCP: Add Server
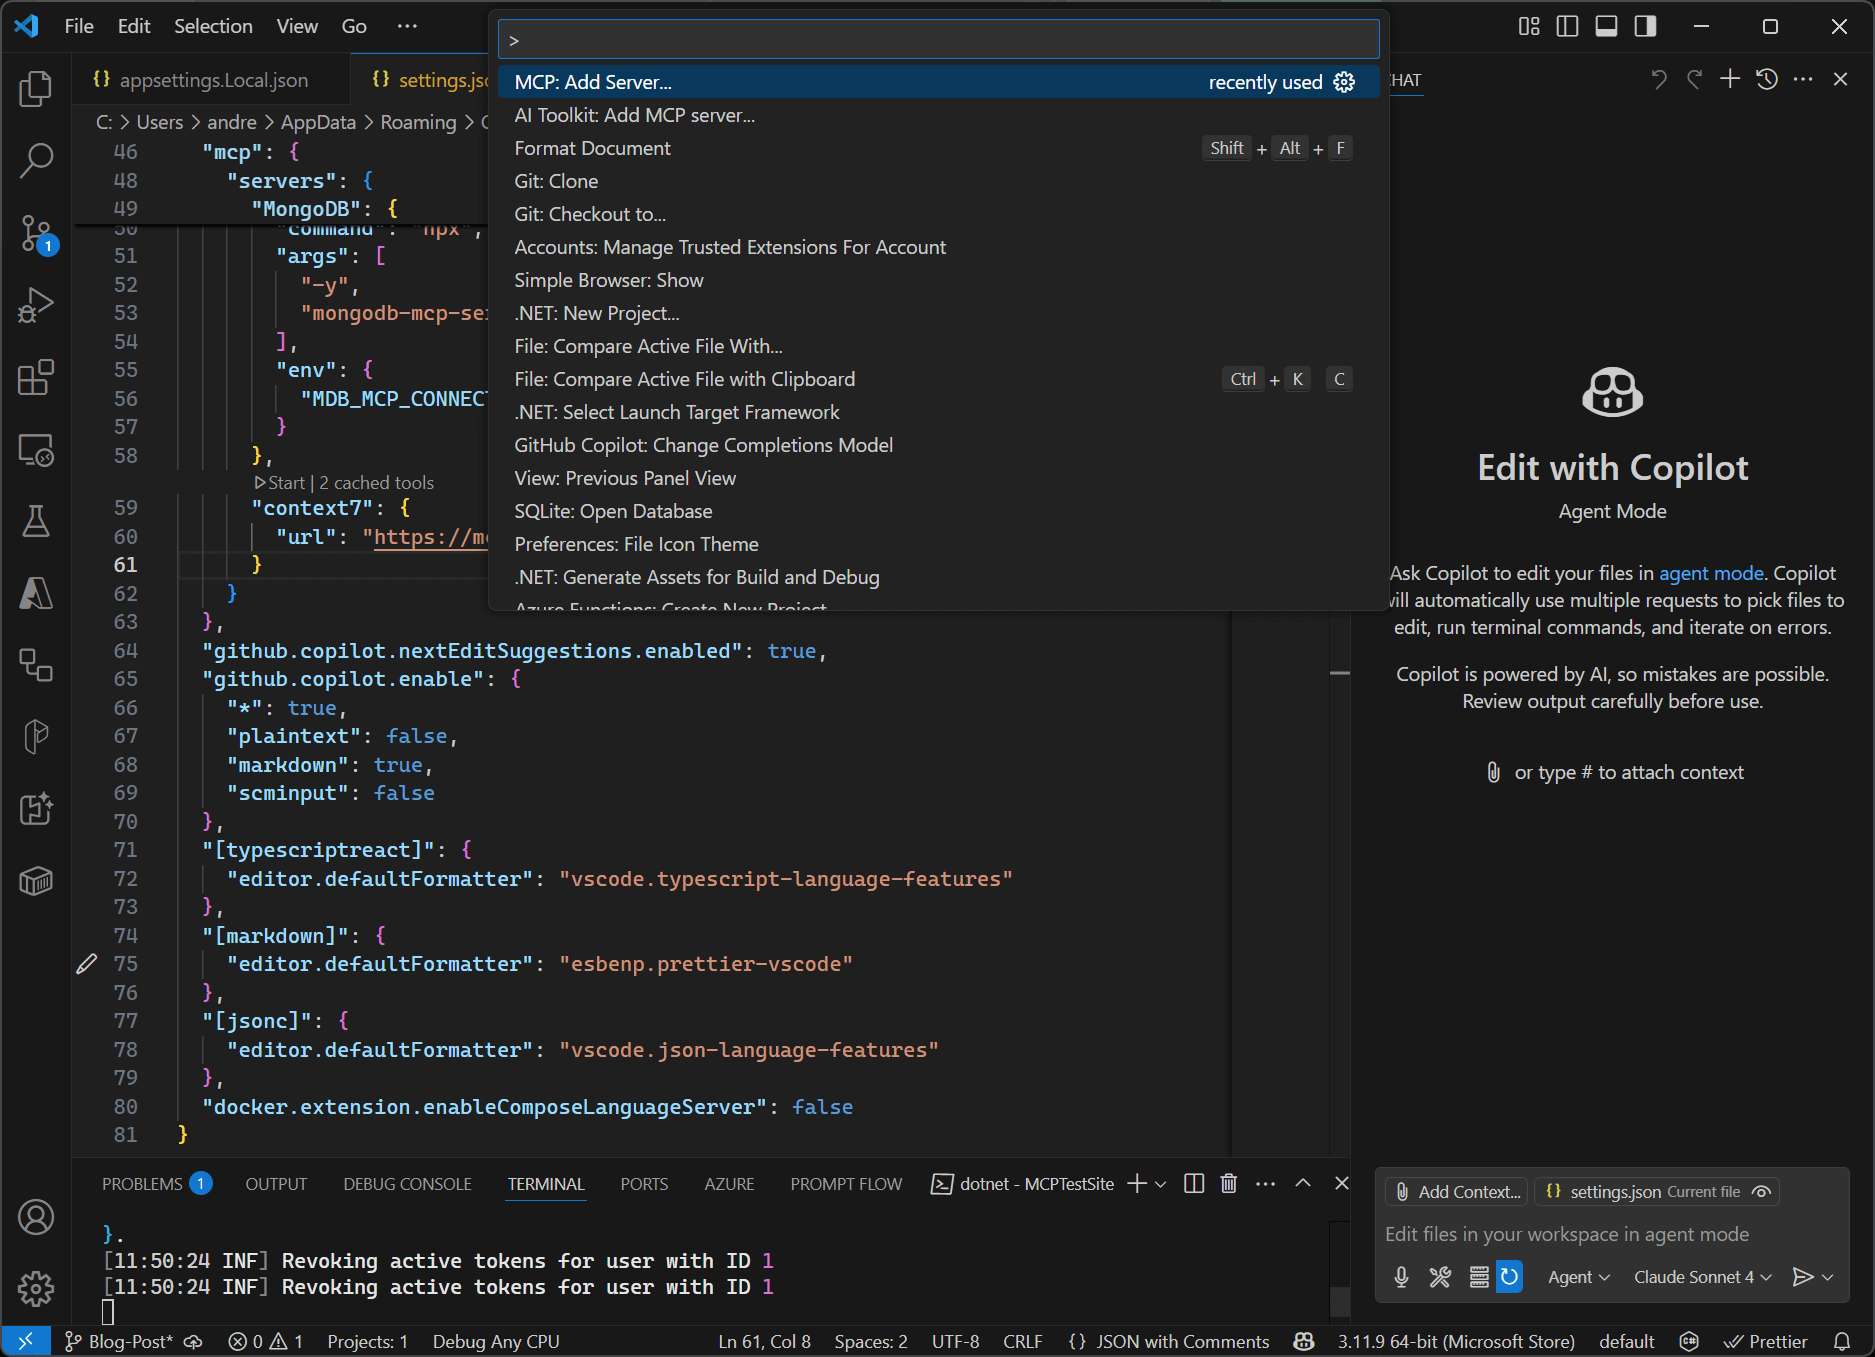
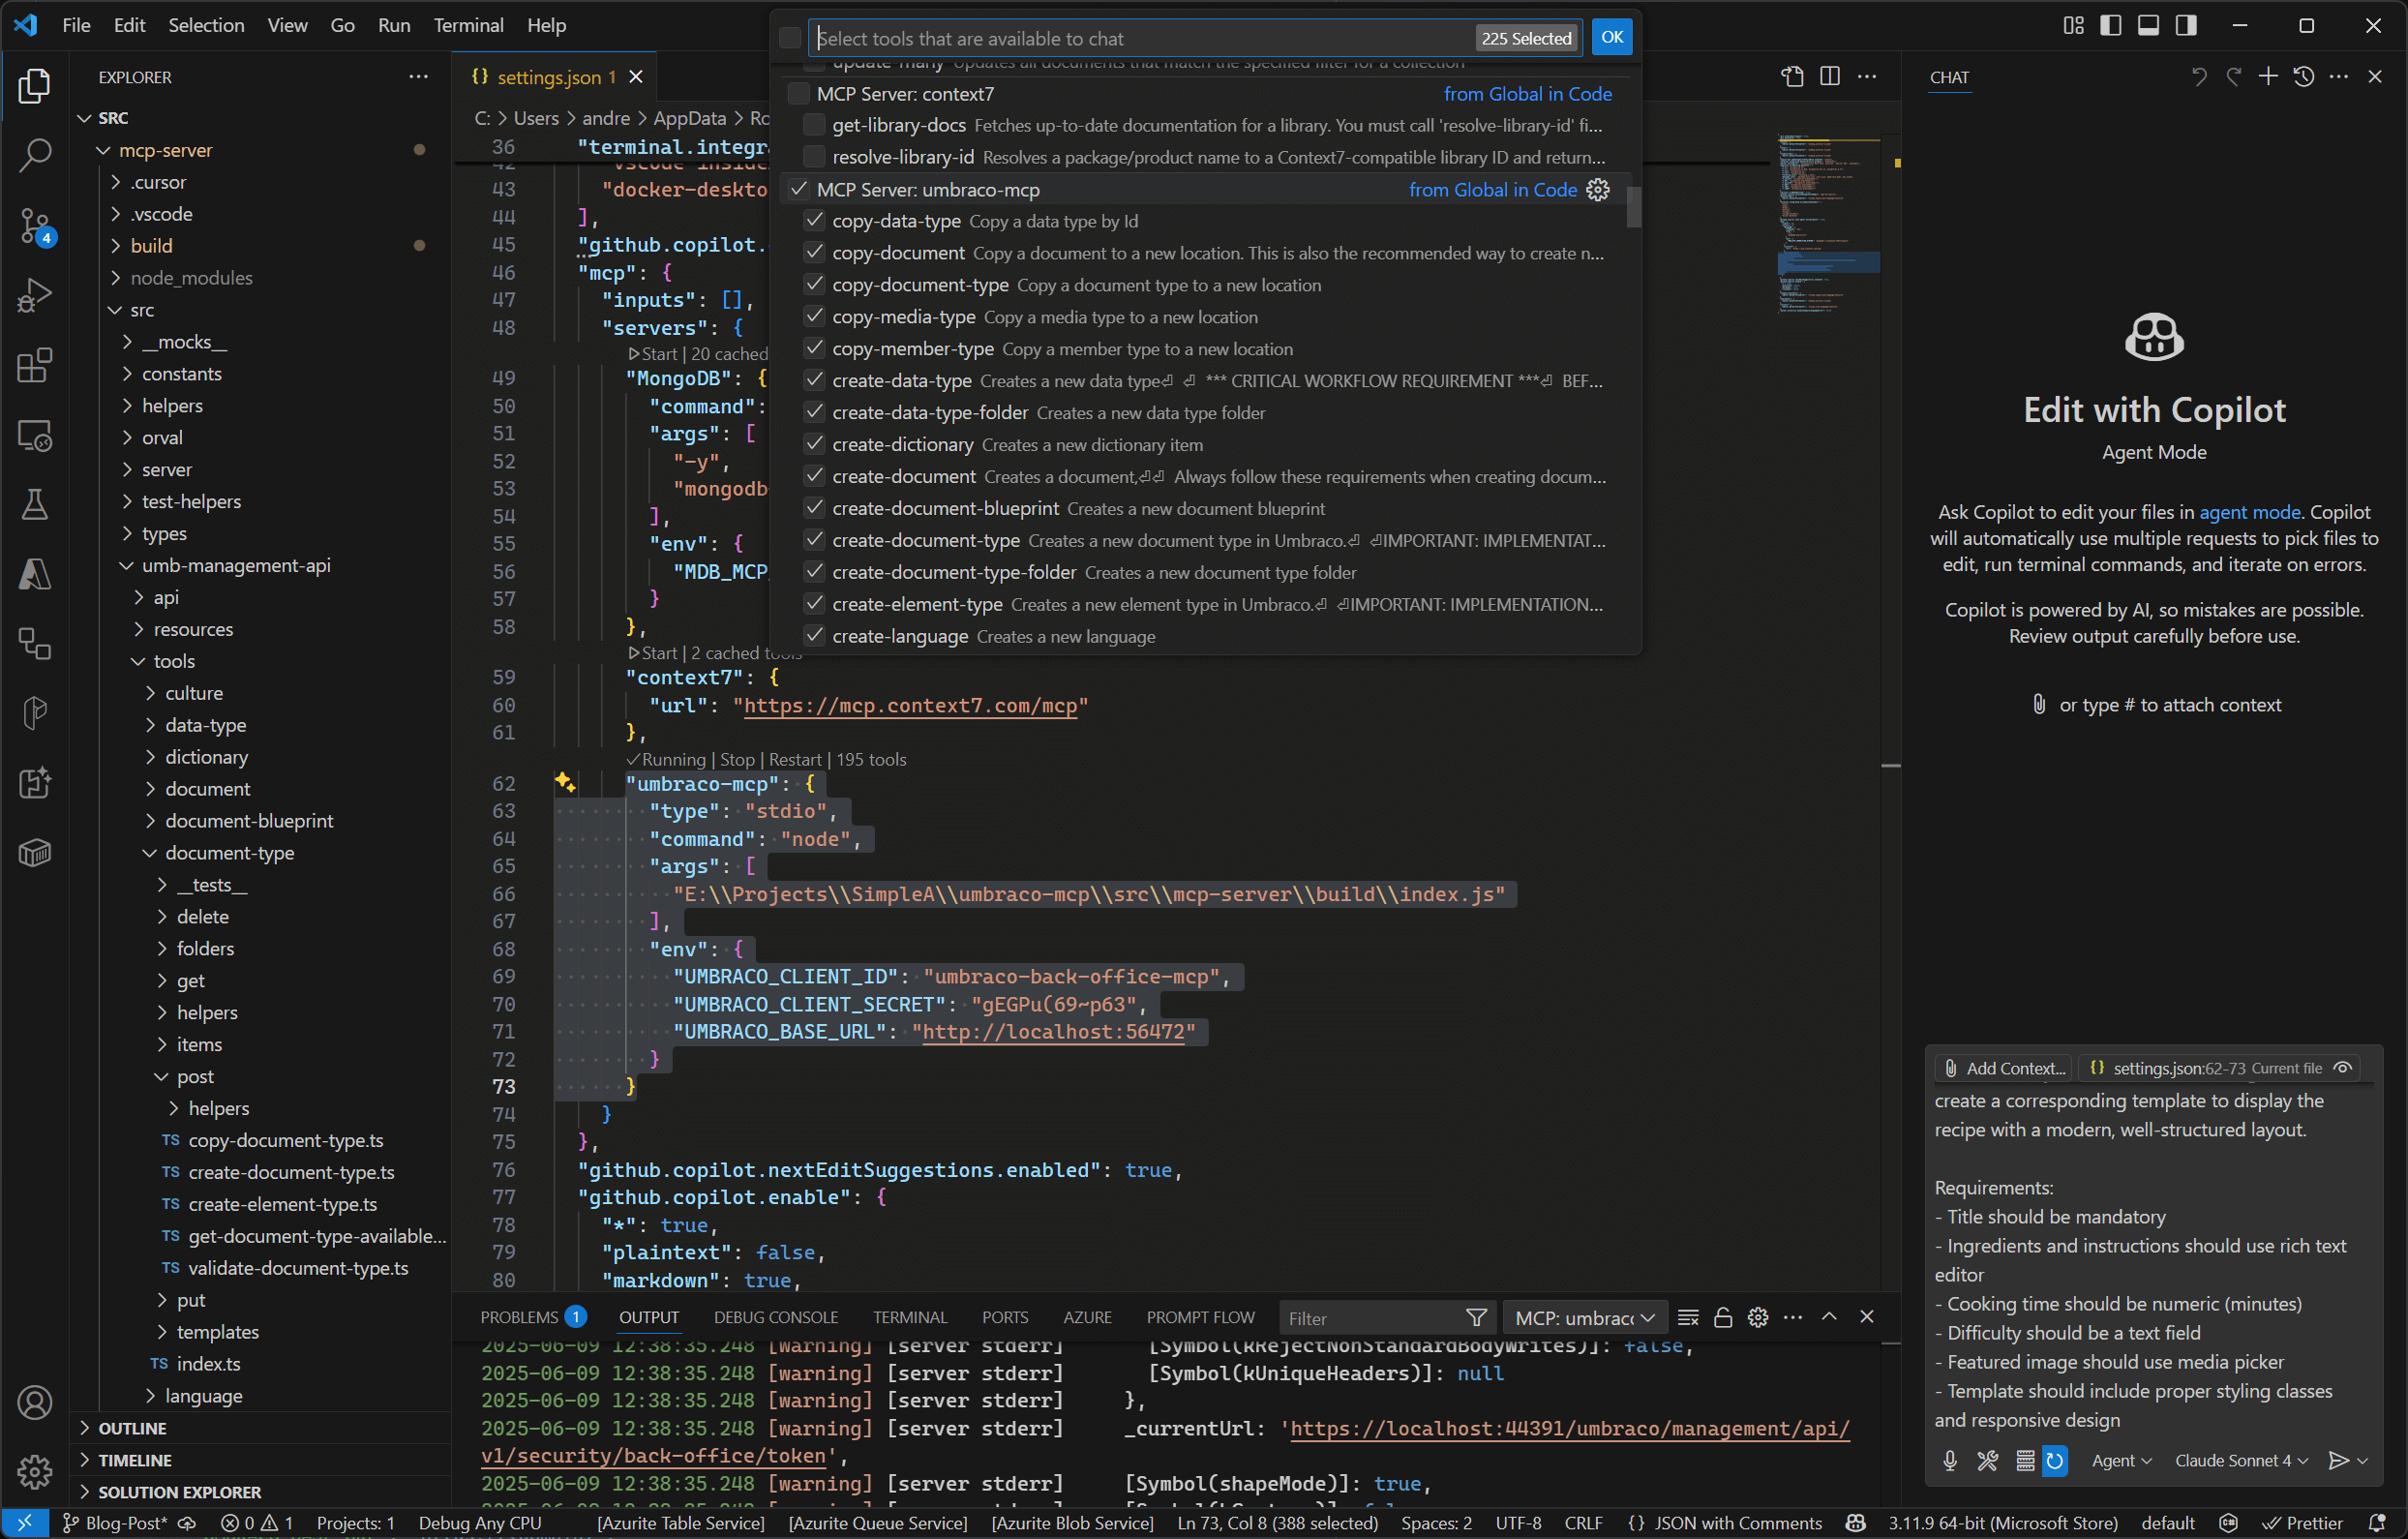
3. Configure your environment like this:
"umbraco-mcp": {
  "type": "stdio",
  "command": "node",
  "args": ["path/to/mcp-server/build/index.js"],
  "env": {
    "UMBRACO_CLIENT_ID": "umbraco-back-office-mcp",
    "UMBRACO_CLIENT_SECRET": "your-secret",
    "UMBRACO_BASE_URL": "http://localhost:44391"
  }
}
Step 6: Verifying the Setup
If your setup is correct, your AI assistant will show available tools like:
- Document type management
- Content creation
- Data type configuration
You're ready to start building with AI-powered Umbraco development!
Practical Example: Creating a Recipe Document Type in Umbraco
To see MCP in action, let’s walk through a practical example: creating a Recipe document type in the Umbraco CMS.
The Requirement
We want a content model that includes:
- Title (text string, required)
- Description (textarea)
- Ingredients (rich text, required)
- Instructions (rich text, required)
- Cooking Time (numeric)
- Featured Image (media picker)
And we want to:
- Use the same compositions as the existing Article document type
- Set the icon to icon-food
- Make Recipe an allowed child of the Home node
Traditional vs. MCP Approach
Traditional Approach:
Using the Umbraco backoffice:
- Manually create a new document type
- Add and configure each property
- Link the right compositions
- Set validation rules
- Test and iterate
This could easily take 10–15 minutes.
MCP Approach:
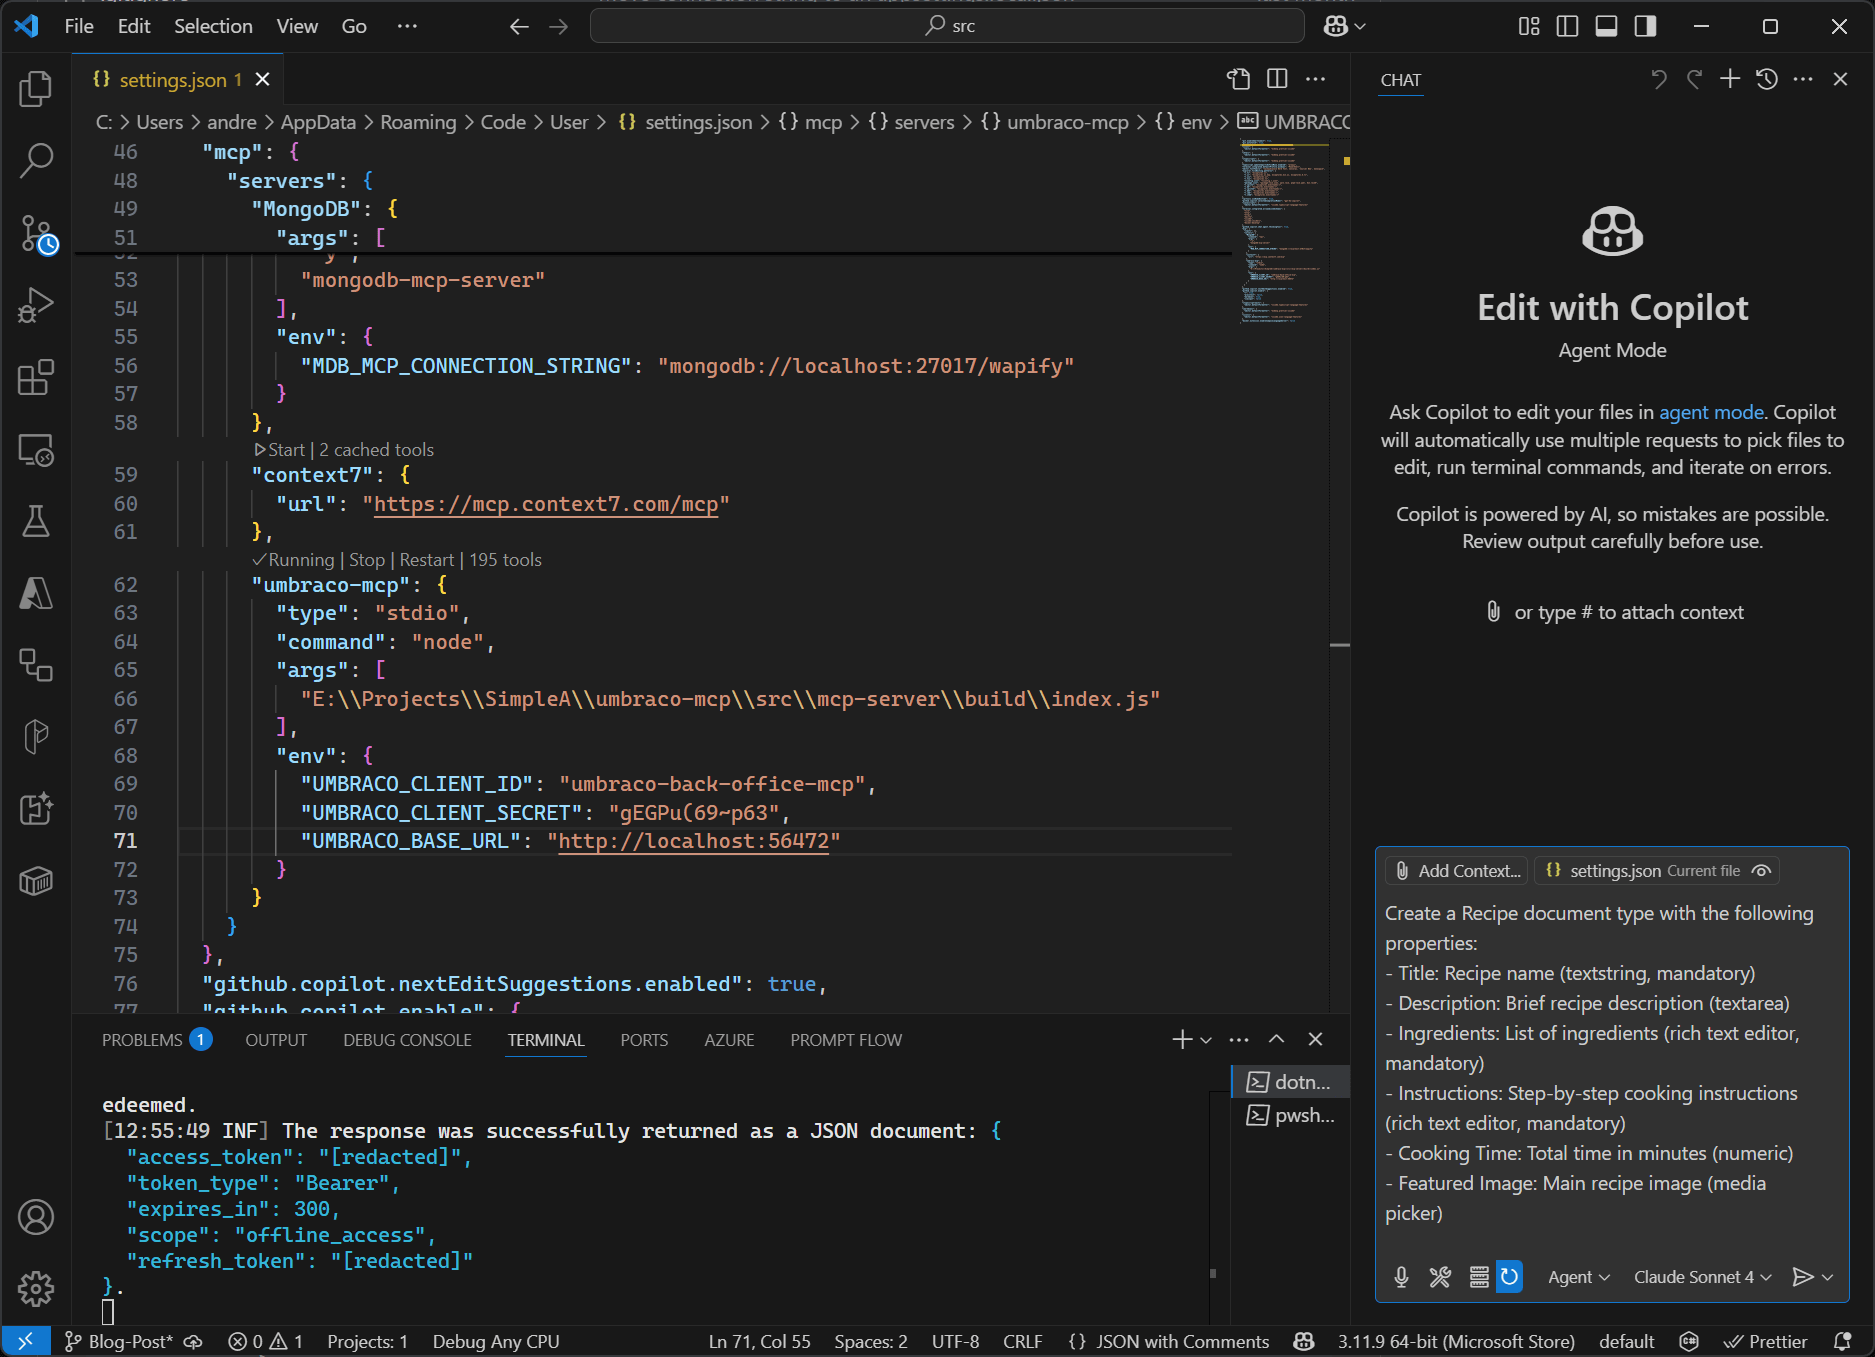
With MCP, you just describe your content type like this:
Create a Recipe document type with the following properties:

Title: Recipe name (textstring, mandatory)
Description: Brief recipe description (textarea)
Ingredients: List of ingredients (rich text editor, mandatory)
Instructions: Step-by-step cooking instructions (rich text editor, mandatory)
Cooking Time: Total time in minutes (numeric)
Featured Image: Main recipe image (media picker)

Configuration requirements:
- Make title, ingredients, and instructions mandatory
- Use the same compositions as the Article document type
- Set icon to "icon-food"
- Add Recipe to the allowed child content types of the Home document type
Your AI assistant, using the Umbraco MCP server, handles the rest—within seconds.
How GitHub Copilot Handled the Request
When the detailed prompt was submitted to GitHub Copilot, it immediately understood the requirements and began systematically working through the task. Here's the complete workflow from initial prompt to final result:
The Initial Prompt and Response:
This screenshot shows the exact moment when the detailed requirements were submitted to GitHub Copilot. You can see how Copilot acknowledged the request and immediately began planning its approach.
Copilot's Systematic Approach:

Step-by-Step Breakdown
- Initial Analysis: Copilot examined the existing Article document type to understand its compositions.
- Discovery Phase:
- Ran
get-all-document-typesto understand the existing document type landscape - Ran
get-document-type-by-idto examine the Article document type's compositions - Checked the Home document type to see current allowed document types
- Data Type Lookup
Located the correct data types for:
- Textstring
- Textarea
- Rich text editor
- Numeric
- Media picker
- Icon Check Verified that icon-food exists before applying it.
- Document Type Creation Executed create-document-type with all the gathered information
- Conflict Resolution Identified duplicate property aliases and handled them automatically.
Follow-up Request: Content Type Relationships
One requirement wasn’t covered right away: making Recipe a child of Home.
So the follow-up was:
"Okay, now, please add the Recipe document type to the allowed child types of the Home document type."
Final success confirmation:

GitHub Copilot provided a detailed summary of the changes made:
✅ Retrieved the current Home document type configuration
✅ Added the Recipe document type to the allowedDocumentTypes array
✅ Verified the change was applied successfully
Result: Document Type Created
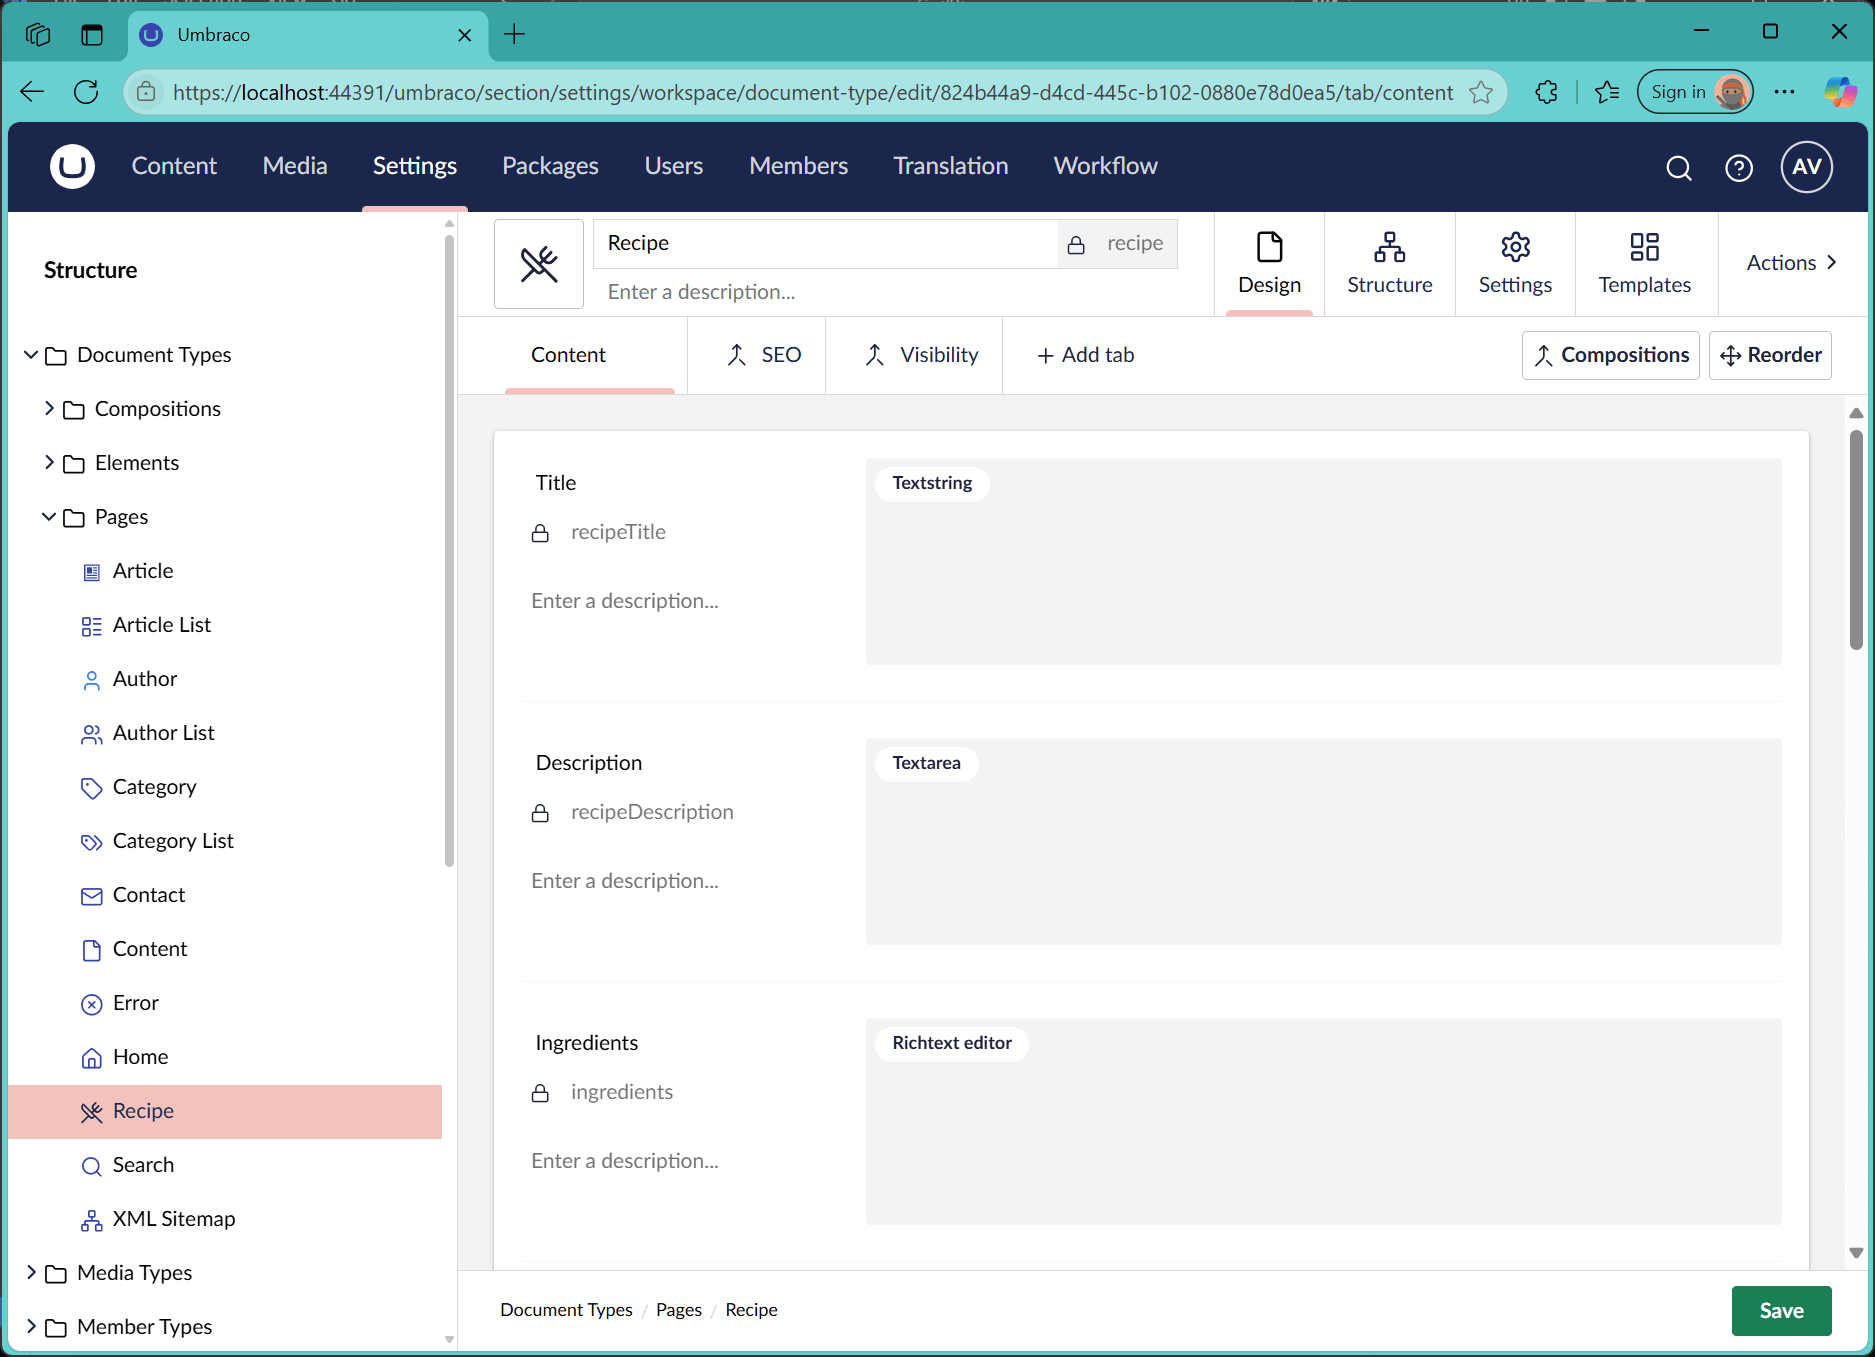
In just a few steps, the Recipe document type was live in the Umbraco backoffice, with all fields, rules, and relationships properly configured.
Content Creation: Testing the Document Type
To test the new Recipe document type, we asked the AI assistant to generate an example recipe under the Home content node in the Umbraco CMS:
“Great, now, let’s create a recipe example under the Home item please.”
MCP Content Creation in Action:
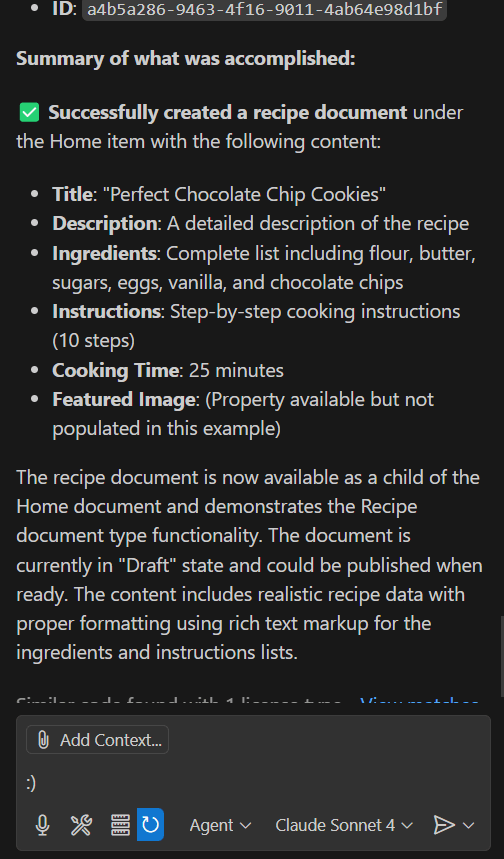
GitHub Copilot responded with a fully structured recipe entry:
✅ Successfully created a recipe document under the Home item
✅ Generated realistic content including "Perfect Chocolate Chip Cookies" with detailed description
✅ Populated all fields with appropriate content including ingredients, instructions, and cooking time
✅ Created the document in "Draft" state, ready for publishing
✅ Used proper rich text markup for ingredients and instructions lists
Final Result in the Umbraco Backoffice
In the Umbraco backoffice, the new content appeared exactly as expected. Each field was correctly filled, using the data types and layout defined in the document type setup. It was ready for review by content editors — no extra tweaks needed.
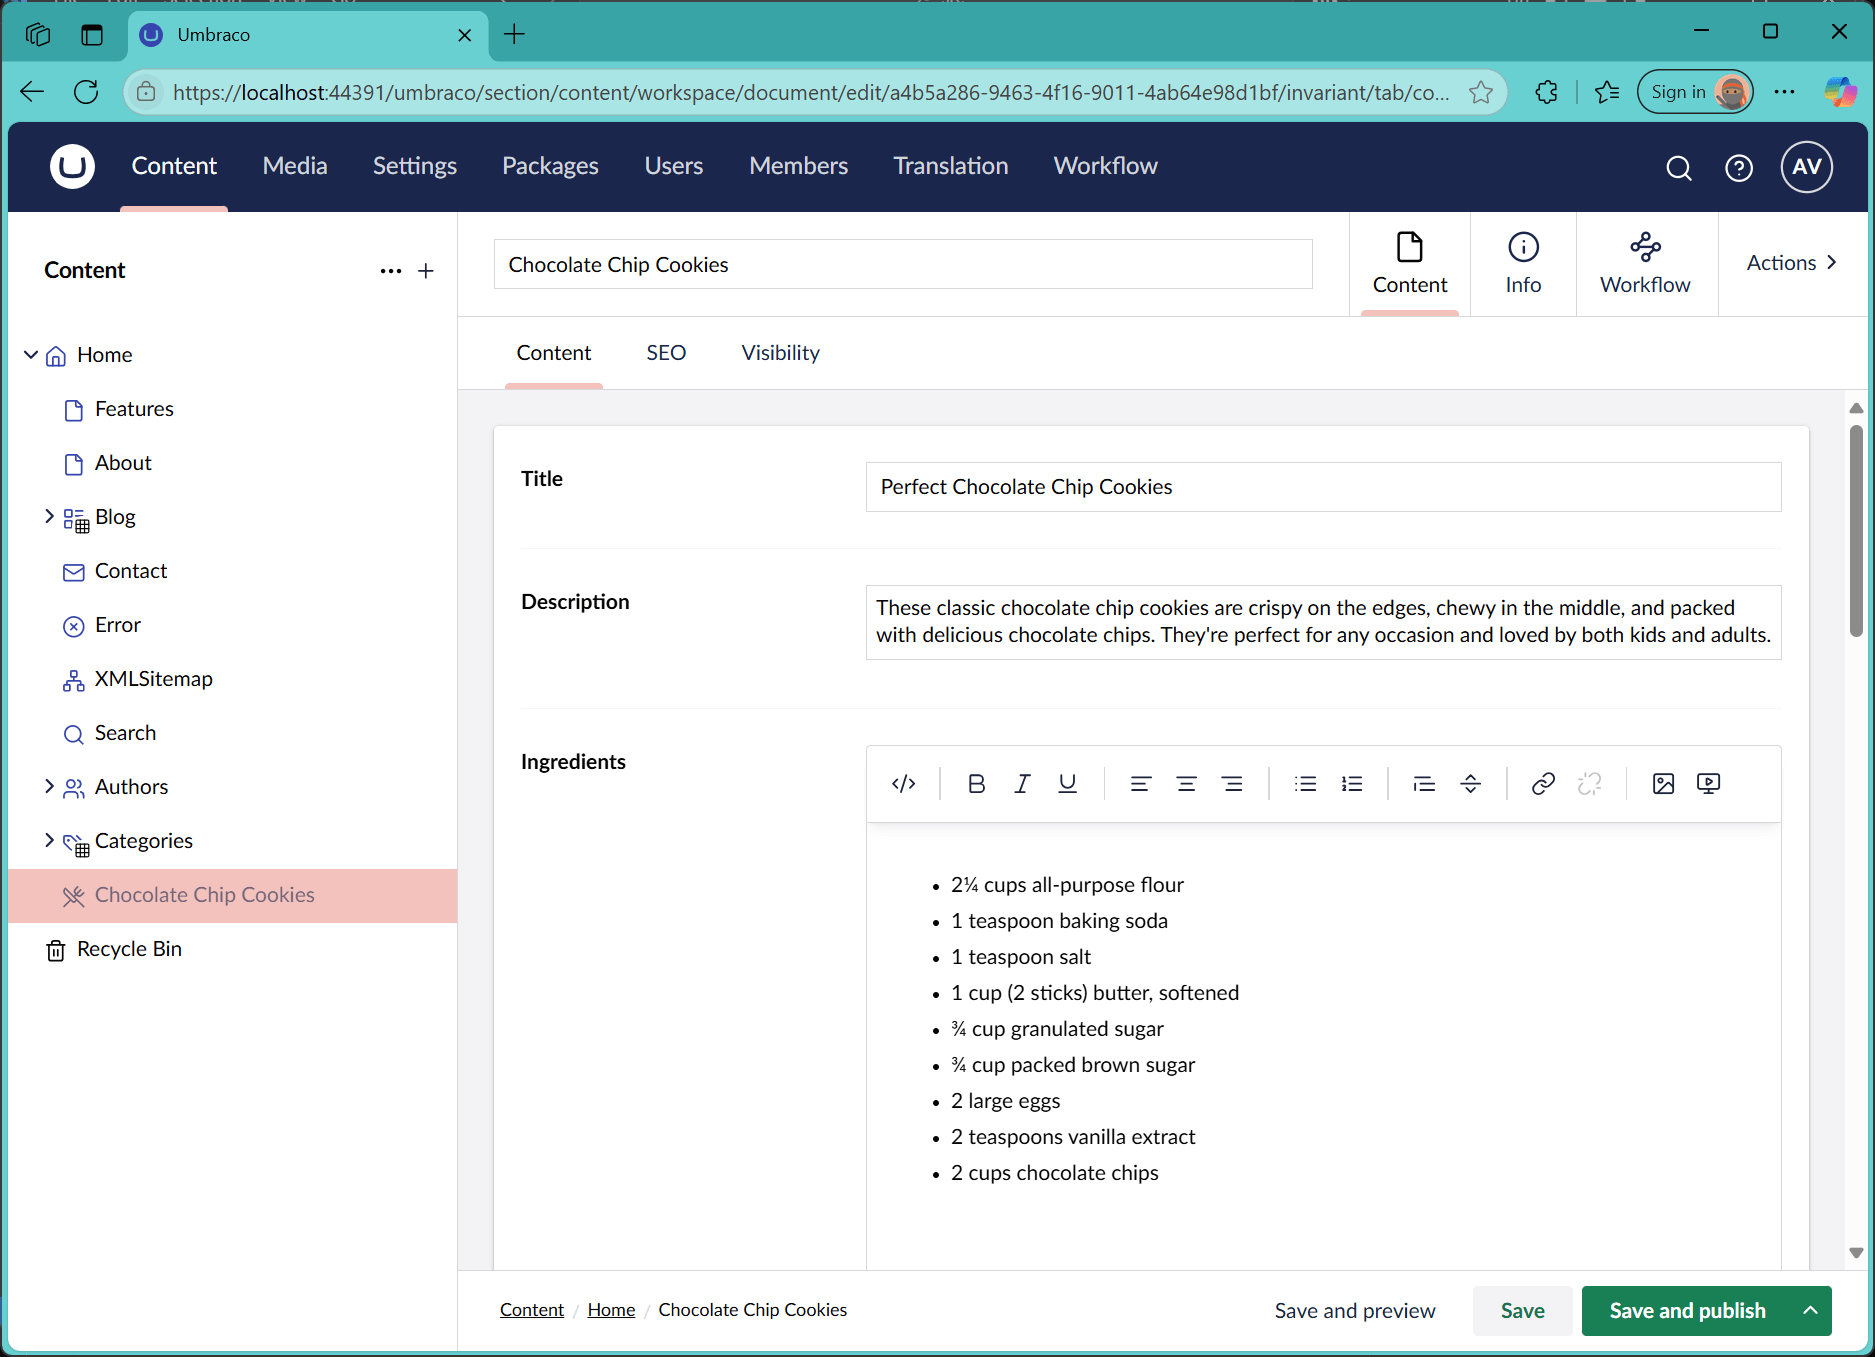
This showcases how MCP can do more than just set up content models. It can also generate high-quality, structured content that follows your site’s standards.
Benefits and What’s Next for Umbraco + MCP
Integrating MCP with the Umbraco CMS isn’t just about saving time — it’s about changing how development happens. Here’s what we gained, and what’s coming next.
Key Benefits
- Faster Development: Document type creation went from 15 minutes to just 3 — an 80% reduction.
- Consistent Output: Automatically follows Umbraco development conventions, naming standards, and data types.
- Less Context Switching: No more clicking through the backoffice — just describe what you need and MCP builds it.
- Higher Quality: Built-in validation, schema awareness, and fewer manual mistakes.
What’s Still Evolving
While the current implementation is powerful, future updates could unlock even more automation:
- Template generation alongside document types
- Workflow integration for smoother automation pipelines
- Combined operations instead of calling separate tools
Advanced Use Cases to Explore
As the MCP ecosystem grows, there’s huge potential for innovation in Umbraco development:
- Intelligent content migration
- Performance optimization
- Security auditing tools
- Multi-site and multilingual content setups
- CI/CD pipeline integration
Best Practices for MCP in Umbraco Development
Before jumping all-in with MCP, we recommend a few key strategies to get the most out of it, especially when working inside the Umbraco CMS.
Getting Started
Start small. Try creating a few simple document types first before automating larger setups.
Validate output. Always review AI-generated types in the Umbraco backoffice before going live.
Refine through iteration. Give clear, step-by-step feedback to improve results.
Train your team. Help developers understand both MCP capabilities and Umbraco structure.
Prompting Tips
- Reference real document types or compositions from your site
- Use specific terms (e.g. “textstring”, “rich text”, “mandatory”)
- Mention icons, allowed child nodes, and naming rules
Security Considerations
- Use strong secrets for your OAuth credentials
- Keep them out of version control
- Rotate them regularly, especially in shared environments
Wrapping Up
The combination of MCP and Umbraco opens up a new way to build — one that’s faster, smarter, and more flexible. Instead of clicking through menus, your team can describe what they need in plain language and get working results in minutes.
Need Help Implementing MCP?
We’ve been working with the Umbraco MCP server since its early days. At [A], we help organizations:
- Set up and customize MCP workflows
- Train internal dev teams to use AI tools responsibly
- Modernize their Umbraco development practices
- Optimize performance and security with automation